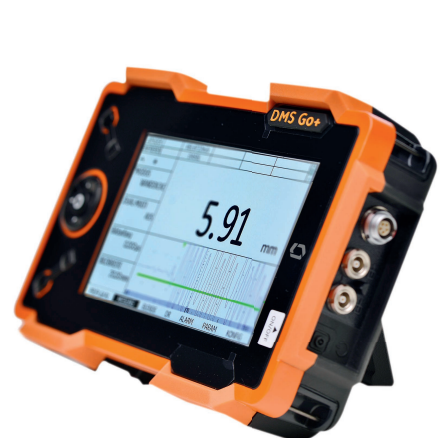
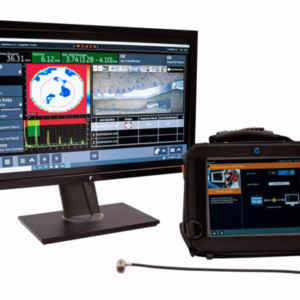
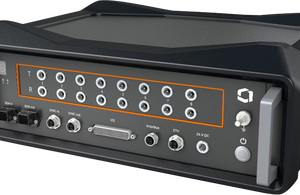
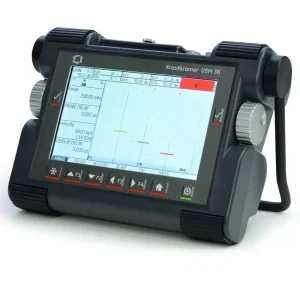
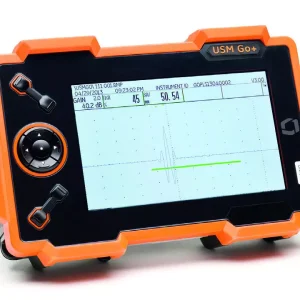
The new DMS Go+ Series of A-scan thickness gauges provides accurate, reliable and comprehensive thickness inspection data in a wide range of applications and environments.
All three models feature intuitive, easy-to-use arrow-keypad control and carry out from simple A-scan verification to B-scan and full Data Recording. The three thickness gauges are easy to upgrade with additional features and capabilities in order to form a powerful and flexible NDT inspection tool that meets your corrosion thickness application needs. There are three models to choose from – DMS Go+ Basic, DMS Go+ and DMS Go+ Advanced.
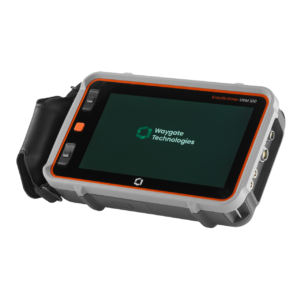
The DMS Go+ Series uses the same operating platform and hardware as the state-of-the-art USM Go+ portable flaw detector. This offers the ability to have an A-scan thickness gauge and full-fledged flaw detector in one powerful & flexible instrument.
Download Brochure
